The Unsung Hardware That Decides Whether Your Solar Setup Thrives or Fails

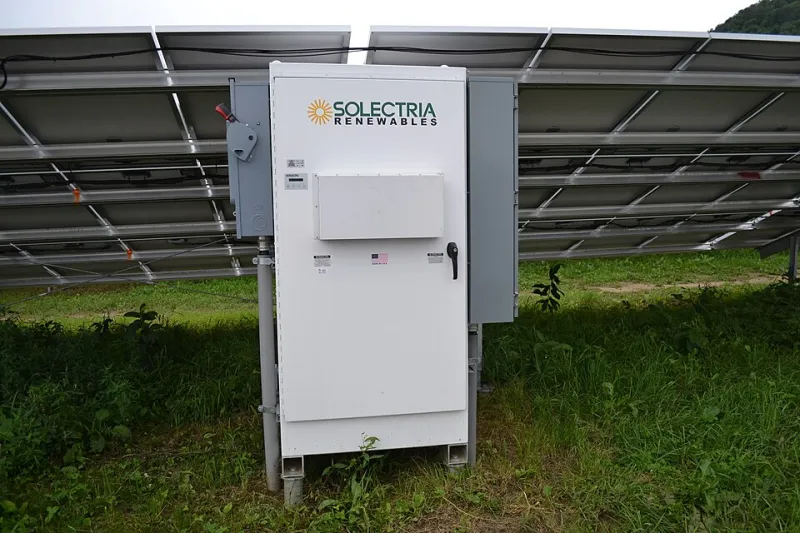
Photo: Basile Morin, CC BY 4.0, via Wikimedia Commons
Every week, someone posts in an off-grid forum with the same frustration: they've got 400 watts of panels on the roof, a solid lithium battery bank, and somehow their system still can't keep up with demand. The usual advice — "add more panels" or "get a bigger battery" — gets thrown around. But in a surprising number of cases, the real problem isn't the panels or the batteries at all.
It's everything in between.
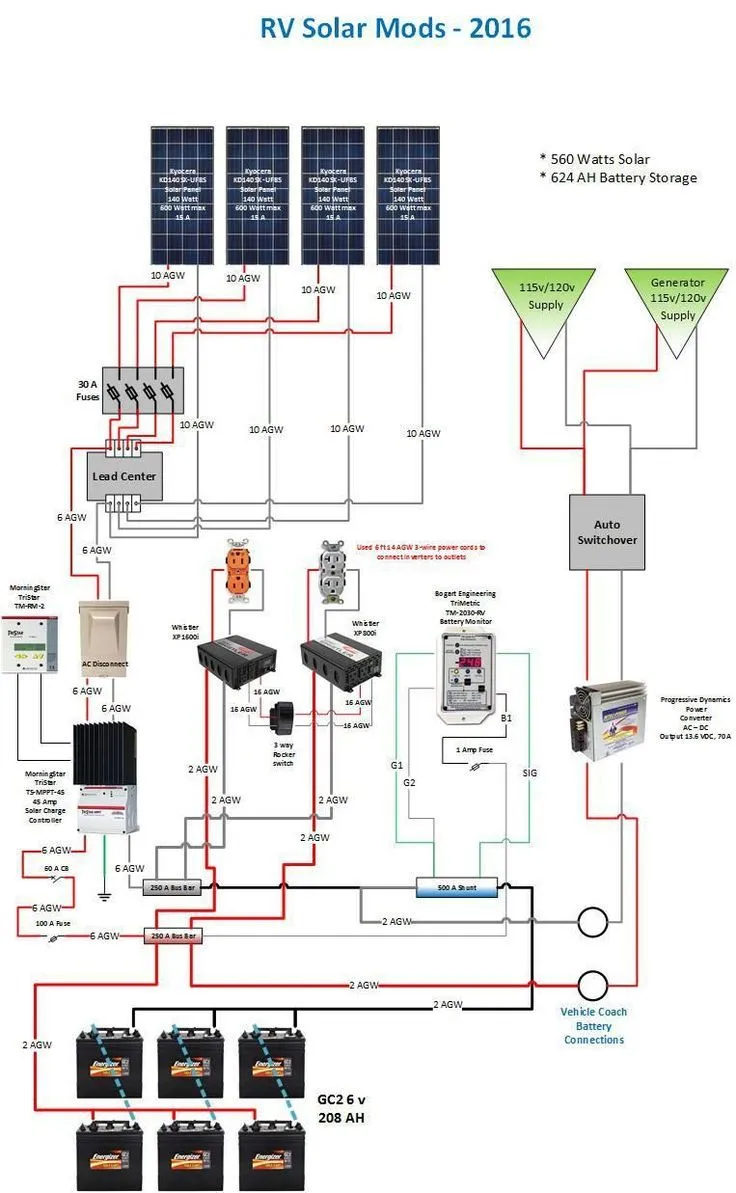
The charge controller, the wire runs, the fuse ratings, the connectors — this is the unglamorous backbone of your 12V solar setup. And it's the part most buyers treat as an afterthought. That's a mistake that can cost you efficiency, money, and in worst-case scenarios, a whole lot more.
Why the "Middle" of Your System Matters More Than You Think
Here's a useful way to think about it: your solar panels are a water source, your battery bank is a reservoir, and everything connecting them is the plumbing. You can have a mountain spring and a massive tank, but if the pipes are undersized, kinked, or leaking, you're never going to fill that reservoir efficiently.
The same physics apply to electrons. Resistance in your wiring creates heat and wastes energy. A mismatched or low-quality charge controller throttles what your panels can actually deliver. A single corroded connector can introduce enough resistance to meaningfully reduce your system's daily harvest. None of these failures are dramatic — they just quietly rob you of performance, month after month.
Charge Controllers: The Brain You Might Be Underestimating
If you're still running a PWM (pulse width modulation) charge controller because it came bundled with a starter kit a few years back, this section is for you.
PWM controllers are simple, cheap, and reliable — but they're also inherently inefficient. They work by directly connecting your panels to your battery and choking the current to regulate charging. This means your panels are almost never operating at their peak power point. In practical terms, a PWM controller typically delivers 70–80 percent of what your panels are theoretically capable of producing.
MPPT (maximum power point tracking) controllers, by contrast, continuously optimize the voltage and current relationship between your panels and battery. In real-world conditions — especially in colder temperatures, partial shading, or when your battery voltage is low — a quality MPPT unit can outperform a PWM controller by 20 to 30 percent on the same panel array. That's like getting a free extra panel without putting a single new piece of hardware on your roof.
What to look for: Match your controller's amperage rating to your array with headroom to spare. A 40A MPPT controller for a system that theoretically maxes out at 38A is a recipe for throttling and heat. Go up a size. Brands like Victron, Renogy, and EPever have established track records in the US market and offer solid warranty support.
Wire Gauge: Where People Get Overconfident
Wire sizing is one of those topics where the gap between "technically works" and "works well" is enormous — and expensive to ignore.
Undersized wire creates resistance. Resistance creates heat. Heat creates inefficiency, insulation degradation, and in serious cases, fire. The National Electrical Code (NEC) and ABYC marine standards both exist for a reason, and the physics don't care whether you're in an RV, a cabin in Montana, or a boat in the Florida Keys.
A common mistake: using 10 AWG wire for a run that should be 6 AWG or 4 AWG. The wire might handle the amperage without immediately failing, but over a long run — say, 15 feet from your battery bank to your inverter — the voltage drop can be significant enough to affect how your inverter performs and how efficiently your system charges.
Quick rule of thumb: For any run carrying more than 20 amps, calculate your expected voltage drop using an online calculator before you buy wire. Aim to keep voltage drop under 3 percent on any given run, and under 1–2 percent on critical runs like battery-to-inverter. When in doubt, go heavier. The cost difference between 6 AWG and 4 AWG copper wire is minor compared to the efficiency you'll preserve.
Fuses and Breakers: Your Last Line of Defense
Fuses are not optional. They are not a suggestion. They are the single component standing between a wiring fault and a fire that takes your RV, cabin, or vehicle with it.
And yet, fuse sizing and placement are two of the most commonly botched aspects of DIY 12V builds.
Fuse placement matters: Every unprotected wire run is a liability. The fuse for any given circuit should be located as close to the power source (battery positive terminal) as physically possible — ideally within 12 to 18 inches. A fuse at the end of a 10-foot run protects the device but not the wire, which is where most fires actually start.
Fuse sizing matters: Your fuse should be sized to protect the wire, not the device. If you're running 10 AWG wire rated for 30A in a chassis environment, your fuse shouldn't exceed 30A regardless of what the device is rated for.
ANL fuses for high-current runs (battery-to-inverter), blade fuses for smaller circuits, and MIDI fuses for mid-range applications each have their place. Mixing them up or skipping them entirely is how real-world disasters happen.
Connectors and Terminals: The Overlooked Failure Point
Corrosion and loose connections are responsible for a staggering number of underperforming 12V systems. A single oxidized terminal or poorly crimped connector can introduce enough resistance to reduce your system's effective output — and create a localized hot spot that eventually becomes a serious problem.
What to watch for:
- Discoloration or greenish buildup on battery terminals (oxidation)
- MC4 solar connectors that weren't fully seated or clicked into place
- Ring terminals that were attached with a basic plier crimp rather than a proper ratcheting crimper
- Any connection point that feels warm to the touch during operation
Upgrade tips: Use tinned copper wire in high-humidity environments (coastal areas, marine applications). Apply dielectric grease to battery terminals and any outdoor connection points. Invest in a quality ratcheting crimper for ring terminals — the difference in connection quality over a basic crimp tool is significant and immediately visible in how snugly the terminal seats.
A Practical Upgrade Checklist for Existing Systems
If your current 12V setup isn't delivering what it should, run through this before spending money on more panels or batteries:
- Swap PWM for MPPT if you haven't already — this is almost always the highest-ROI upgrade available
- Audit your wire gauges on all major runs using a voltage drop calculator
- Check every fuse location — are they within 18 inches of the battery positive?
- Inspect all connections for corrosion, looseness, or heat discoloration
- Test your MC4 connectors — are they fully mated and locked?
- Verify your charge controller settings match your battery chemistry (LiFePO4 profiles differ significantly from AGM)
- Look for undersized busbars if you're running multiple battery connections
The Bottom Line
More panels and bigger batteries get all the attention, but the hardware connecting them is where real-world performance is won or lost. A well-matched MPPT controller, properly gauged wiring, correctly placed fuses, and clean, solid connections can genuinely outperform a system with 50 percent more panel capacity but sloppy infrastructure.
Before your next solar purchase, take a hard look at what's already in your system. The upgrade that actually moves the needle might already be on your roof — you just need to let it work properly.