Hidden Gremlins: How Bad Grounding Is Silently Killing Your 12V Battery Bank Season After Season
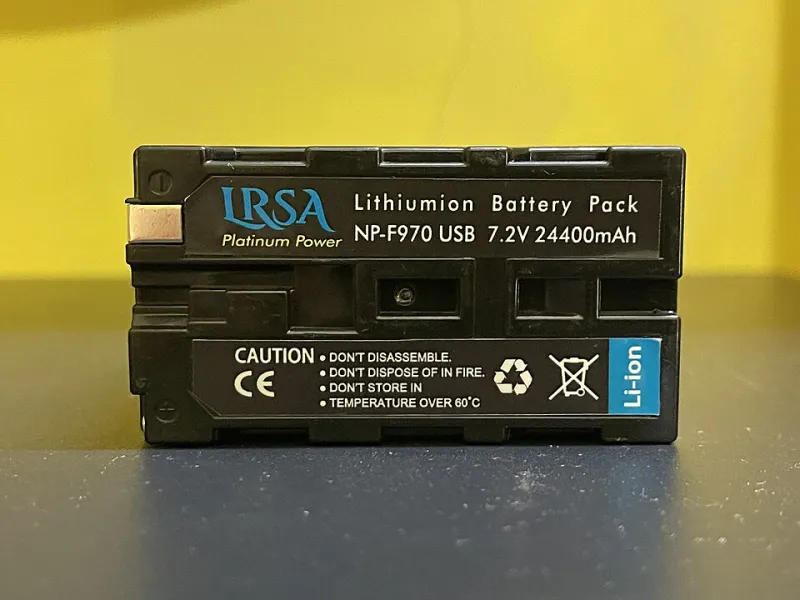
Photo: Indrajit Das, CC BY-SA 4.0, via Wikimedia Commons
You invested good money in a solid battery bank. Maybe it's a set of AGM batteries, maybe you splurged on lithium. Either way, after one season of off-grid living or RV travel, something feels off. Capacity is down. Charging is sluggish. And by the time spring rolls around, you're staring at a bank that should have years of life left — but doesn't.
Most people blame the batteries. They shouldn't. More often than not, the real killer is something invisible: poor grounding and improper isolation practices baked right into the system's wiring.
This isn't a fringe issue. It's one of the most common — and most overlooked — failure points in DIY 12-volt solar setups across the US. And the frustrating part? It's entirely preventable.
What "Isolation" Actually Means in a 12V System
Let's get the terminology straight before diving in. In a 12-volt solar setup, isolation refers to keeping different electrical circuits, chassis grounds, and battery banks properly separated so that current flows exactly where you want it — and nowhere else.
When isolation breaks down, you end up with stray current paths. Electricity finds sneaky routes through metal frames, water lines, or shared ground connections. That stray current does two nasty things: it accelerates galvanic corrosion on battery terminals and connectors, and it creates voltage differentials that confuse your charge controller and battery management system (BMS).
The end result? Your batteries are constantly working against themselves, even when everything looks fine on the surface.
The Grounding Mistakes That Cause the Most Damage
Single-Point Grounding Gone Wrong
Proper 12V systems use a single, centralized ground point — typically a bus bar — where all negative leads terminate. It sounds simple, but a surprising number of DIY builds skip this in favor of convenience: grounding individual components wherever it's easiest.
When you have multiple ground points scattered across a metal chassis (common in RVs and van builds), you create ground loops. These loops allow tiny voltage differences to persist between components, which drives continuous low-level current through your battery terminals even when nothing is actively drawing power. Over months, that micro-current eats away at terminal connections and degrades battery chemistry from the inside out.
The Chassis Ground Trap
Using the vehicle or trailer chassis as a return path for your solar system's negative circuit is one of the oldest and most persistent mistakes in mobile off-grid builds. It seems logical — the chassis is metal, it's everywhere, why not use it?
Here's why not: chassis metal isn't a controlled conductor. Its resistance varies depending on paint, rust, connection quality, and temperature. That variable resistance creates fluctuating voltage drops across your system, which throws off charging profiles and causes your batteries to regularly receive incorrect charge voltages. Do that long enough and you've shortened a five-year battery bank to a one-season wonder.
Mixing Negative Returns from Different Sources
Got shore power, a solar charge controller, and maybe a DC-DC charger all running into the same system? If their negative returns aren't properly isolated and then consolidated at a single ground bus, you're setting up a situation where charging sources interfere with each other. This is especially brutal for lithium batteries with sensitive BMS units, which can interpret the resulting voltage noise as fault conditions and start throttling charge acceptance.
Undersized or Corroded Ground Cables
Even if your grounding architecture is correct, undersized ground cables introduce resistance that creates voltage drop on the negative side of the circuit. Most builders obsess over positive cable sizing and completely ignore the ground side. Treat them equally — your ground cables should be the same gauge as your positive runs.
And corroded ground connections are arguably worse than undersized ones, because corrosion resistance isn't constant. It changes with temperature and humidity, meaning your system behaves differently on a hot Arizona afternoon than it does on a damp Oregon morning.
The Corrosion You Can't See
Galvanic corrosion is the slow-motion disaster of poorly isolated 12V systems. When dissimilar metals are connected in the presence of an electrolyte (and yes, humidity counts), a small electrochemical reaction runs continuously between them.
In a battery bank, this shows up as white or bluish-green crust on terminals, but the real damage is happening underneath — at the interface between the terminal post and the cable lug. That interface develops resistance over time, reducing charge efficiency and causing localized heating during high-current events like heavy loads or bulk charging.
The fix isn't just cleaning the terminals. It's eliminating the conditions that cause the corrosion in the first place: stray current paths, mixed metals without proper isolation hardware, and connections exposed to moisture without adequate sealing.
Isolation Checklist: Lock Out Failures Before They Start
Run through this checklist at installation and repeat it every season — or any time you add new components to your system.
1. Single ground bus, no exceptions. Every negative lead — from panels, charge controller, inverter, loads, and battery bank — should terminate at one ground bus bar. No direct chassis grounds from any solar component.
2. Verify ground cable sizing. Match ground cable gauge to positive cable gauge for every circuit. Don't let the negative side be the weak link.
3. Use isolation between chassis and solar ground bus. If your build requires any chassis connection, use a proper grounding isolator or bonding jumper with a known, controlled resistance path. Don't let the chassis become a random return path.
4. Inspect every lug and terminal for oxidation. Look for discoloration, crust, or pitting. Clean with a wire brush, apply an anti-oxidant compound (Noalox works well for aluminum connections), and use heat-shrink ring terminals wherever possible.
5. Check for stray voltage. With your system running normally, use a multimeter to check voltage between your ground bus and any exposed metal on your chassis or frame. Any reading above 0.1V indicates a stray current path that needs to be tracked down and eliminated.
6. Confirm charge controller and BMS share a clean common ground. If these two components have even slightly different ground reference points, communication between them degrades. Many BMS faults that look like battery problems are actually grounding artifacts.
7. Seal all outdoor connections. Any terminal or connection exposed to weather needs a moisture barrier. Self-amalgamating tape, dielectric grease inside connectors, and weatherproof enclosures for junction points all help keep corrosion from getting a foothold.
Don't Blame the Batteries
Here's the hard truth: batteries don't usually fail on their own. They fail because the systems around them are slowly torturing them with bad voltage, stray current, and corrosion. A lithium battery that should last a decade can be wrecked in a single season if the grounding is wrong.
Before you spend another dollar on replacement batteries, spend an afternoon with a multimeter and this checklist. Chances are, the problem isn't what you bought — it's how it's wired together.
Getting grounding and isolation right isn't glamorous. It doesn't show up in wattage specs or marketing materials. But it's the difference between a 12-volt solar system that powers your freedom for years and one that keeps sending you back to the hardware store every spring.