Your RV Solar System Is Rotting From the Inside — Here's the Inspection Routine That Stops It
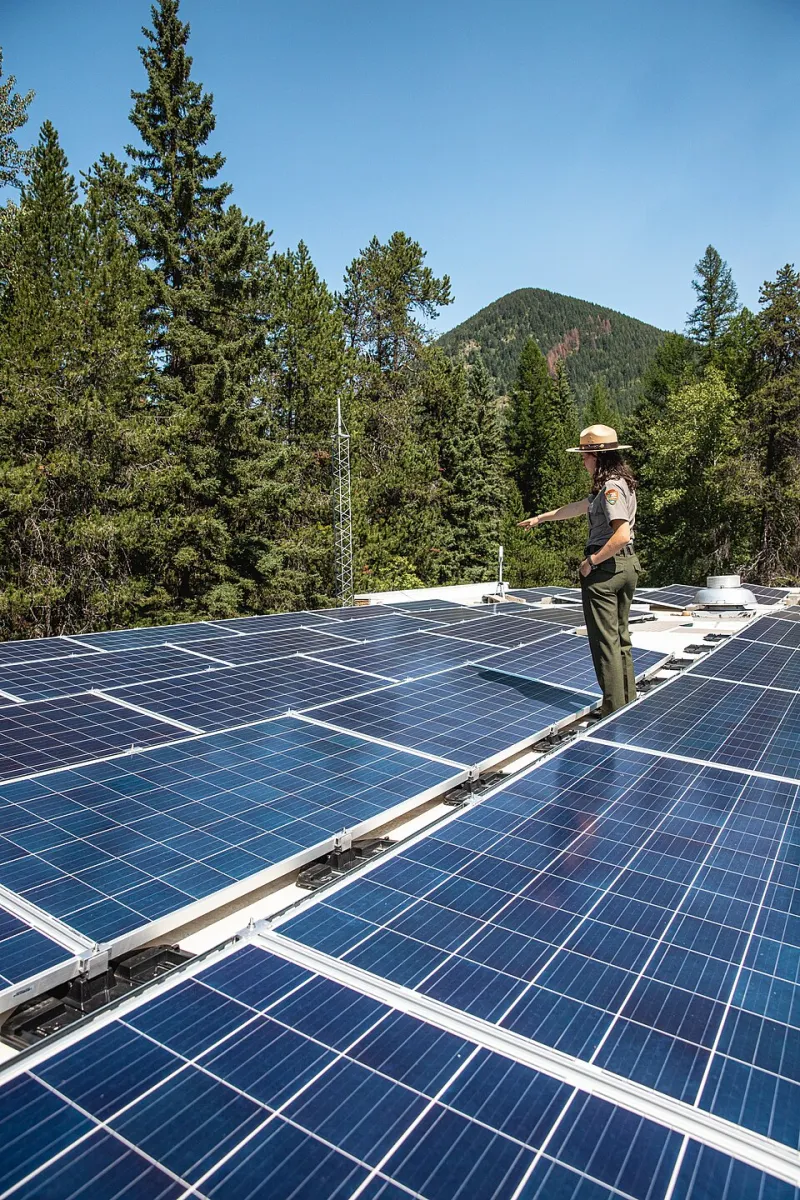
Photo: GlacierNPS, Public domain, via Wikimedia Commons
Most RV solar owners think about maintenance the same way they think about going to the dentist — they know they should, they just don't do it until something hurts. By then, the damage is done.
Here's the uncomfortable truth: the number one killer of 12V solar systems isn't bad weather, isn't cheap panels, and isn't even a faulty charge controller. It's neglect. Specifically, the slow, invisible degradation caused by corrosion, loose connections, and the relentless mechanical stress that comes with life on the road.
The good news? A $5 multimeter and about 30 minutes every month can catch almost all of it before it becomes a repair bill.
Why RV Solar Systems Degrade Faster Than You'd Expect
Stationary rooftop solar — the kind on your house — has a pretty easy life. It sits there, absorbs sun, and barely moves. Your RV solar system, on the other hand, is being vibrated, flexed, heated, cooled, and potentially salt-sprayed every single time you drive.
That constant movement works on every connection in your system. Terminals loosen slightly. Wire insulation rubs against mounting edges. Sealant around panel mounts cracks and lets moisture in. None of it is dramatic. All of it adds up.
And corrosion is particularly sneaky. It doesn't announce itself. It just quietly increases resistance at every affected connection point, bleeding efficiency from your system in ways that are nearly impossible to diagnose without hands-on inspection. A connection that looks fine from three feet away can be shedding 15–20% of your potential power output.
What You Need Before You Start
You don't need a professional toolkit. Seriously. Here's the short list:
- A basic digital multimeter (under $20 at any hardware store)
- A non-contact voltage tester (optional but handy)
- A wire brush or terminal cleaning tool
- Dielectric grease
- Self-fusing silicone tape
- A flashlight or headlamp
- Gloves — always
That's it. If you've got those, you're equipped to catch the vast majority of problems before they escalate.
The Monthly Walk-Through (15–20 Minutes)
Check your panel output voltage. On a sunny day, disconnect your panels from the charge controller and measure the open-circuit voltage across the array. Compare it to the spec on your panel documentation. A reading significantly below spec — say, more than 5–8% low — suggests shading, soiling, or internal panel degradation.
Inspect visible wiring. Follow your cable runs from the panels down into the RV. Look for any spots where insulation has cracked, chafed, or melted. Pay particular attention anywhere wire passes through a roof penetration or runs near a heat source. A small nick in insulation is a future short circuit.
Wiggle every accessible connector. This sounds low-tech, but it works. Grab each MC4 connector, each terminal connection at the charge controller, and each battery terminal and give it a gentle tug and twist. A properly seated connection shouldn't move. If it does, tighten or reseat it.
Check battery terminals visually. White or bluish powder buildup around battery terminals is oxidation, and it's killing your charging efficiency. Clean it off with a wire brush, apply a thin coat of dielectric grease, and reconnect snugly.
The Seasonal Deep Dive (Every 3–4 Months)
Once a season, go deeper. This is where you catch the stuff that's been slowly developing between your monthly checks.
Get on the roof. Inspect every panel mount and sealant point. Cracks in lap sealant or self-leveling caulk are water infiltration points waiting to happen. Reseal anything that looks questionable — this protects both your solar wiring and your RV's structure.
Test your charge controller's reported vs. actual output. Your charge controller display tells you what it thinks is happening. Your multimeter tells you what's actually happening. Measure voltage and amperage at the battery terminals and compare to the controller readout. Discrepancies can indicate wiring resistance issues or a controller that's starting to fail.
Measure voltage drop across your main cable runs. Here's a simple test: with your system under load, measure voltage at the solar output, then again at the battery terminals. The difference is your voltage drop. More than 0.5 volts across a run suggests undersized wire or a corroded connection somewhere in that run.
Inspect your fuse and breaker points. Fuses and breakers can corrode just like terminals. Look for discoloration, heat marks, or corrosion around any fuse holder. A fuse that's been running hot will often show a brownish tinge on the holder itself — that's a warning sign worth acting on.
The Connections That Corrode First (And Fastest)
Not all connection points are equal. Some are far more vulnerable than others, and knowing where to look first saves time.
Battery terminals are the most common failure point, especially in coastal environments or humid climates. If you're anywhere near saltwater — Florida, the Gulf Coast, Pacific coastal routes — check these monthly without exception.
Roof penetration points are where water wins. Even a pinhole of moisture intrusion can wick along a wire run and corrode a connection inside the RV that you'd never suspect.
MC4 connectors on panel-to-panel or panel-to-combiner wiring are often overlooked because they're rated for outdoor use. They're durable, but they're not immortal. UV exposure, thermal cycling, and physical stress from driving can degrade the internal contacts over time. If your array output has been slowly declining and everything else checks out, these are worth a close look.
When to Call It and Replace
Some things can be cleaned and tightened back to health. Others are past that point. Replace a component rather than trying to rehab it when:
- Terminal corrosion has eaten into the cable stranding itself (not just the surface)
- Wiring insulation is cracked or brittle along its length — not just at one spot
- A fuse holder shows heat damage or melting
- A panel's output has dropped more than 20% from its rated spec under ideal conditions
A replacement wire run or a new fuse block costs far less than diagnosing a mysterious system failure after it's already caused a problem.
The Real ROI of 30 Minutes a Month
A quality 12V solar setup — panels, charge controller, wiring, battery — represents a real investment. Anywhere from $800 to several thousand dollars depending on system size. Regular inspection isn't just good practice; it's how you protect that investment.
Solar panels are rated for 25 years. Charge controllers and batteries have shorter lifespans, but with proper maintenance, you can realistically push a well-maintained system a decade or more without major component replacement.
That's not a small thing. That's the difference between a solar system that pays for itself twice over and one that limps along for five years before something fails catastrophically.
Get on the roof. Grab the multimeter. Thirty minutes now is worth thousands later.