Stop Chasing Watts: How to Right-Size Your 12V Solar Array Before You Buy a Single Panel
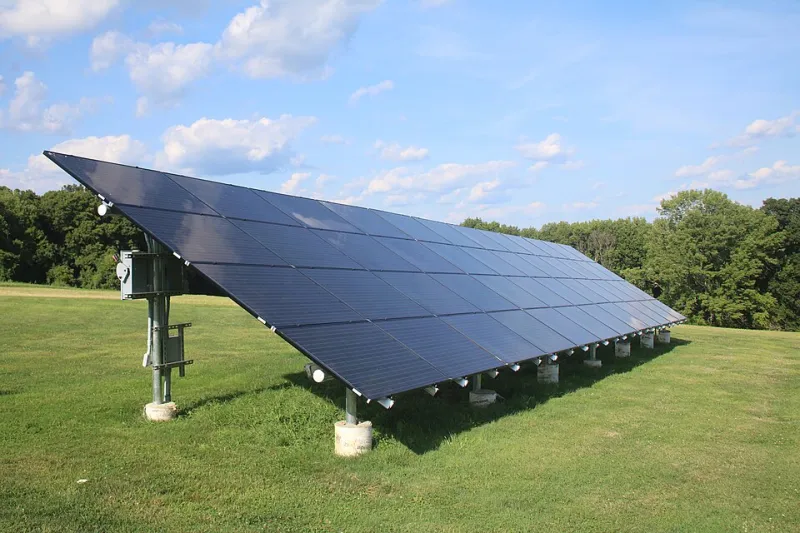
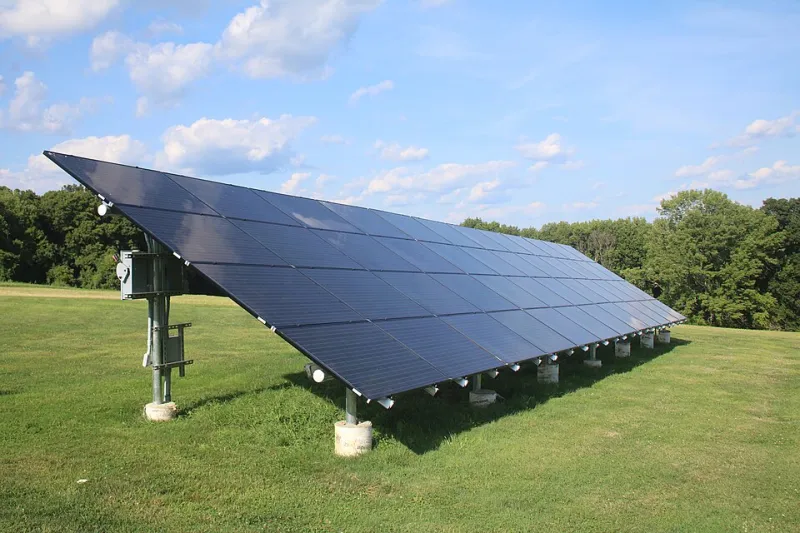
Photo: Grendelkhan, CC BY-SA 4.0, via Wikimedia Commons
There's a trap a lot of first-time off-gridders fall into, and it's easy to understand why. You're scrolling through solar product pages, reading forum threads, watching YouTube builds — and everywhere you look, people are talking about wattage like it's the only number that matters. Bigger array, more freedom. Right?
Not exactly. In fact, some of the most frustrating solar setups out there are overpowered — loaded up with panels that generate more electricity than the system can ever store or use. That's not freedom. That's just an expensive mistake sitting on your roof.
Let's talk about how to actually size a 12V solar array the right way, starting from the ground up.
The Real Constraint Nobody Talks About
Here's the thing: your solar panels don't power your devices directly. They charge your battery bank, and your battery bank powers your devices. That distinction matters enormously when you're sizing a system.
If your battery bank can only hold 100 amp-hours of usable capacity, it doesn't matter whether you've got 200 watts of panels or 800 watts — once those batteries are full, the extra generation goes nowhere. Your charge controller just starts throttling output. All that potential electricity? Wasted.
So before you even look at panels, you need to answer two questions:
- How much energy do I actually consume per day?
- How much energy can my battery bank realistically store?
Everything else flows from there.
Step One: Build Your Energy Budget
Pull out a notepad — or a spreadsheet if that's your thing — and list every electrical device you plan to run. For each one, note the wattage (usually printed on the device or in the manual) and how many hours per day you'll actually use it.
Multiply wattage by hours to get watt-hours. Add them all up. That's your daily load.
For example:
- LED lighting: 20W × 4 hours = 80Wh
- 12V refrigerator: 45W × 8 hours effective = 360Wh
- Phone and laptop charging: 60W × 2 hours = 120Wh
- Fan: 25W × 6 hours = 150Wh
Total: roughly 710 watt-hours per day.
This is your baseline. Build in a 20–25% buffer for inefficiencies (wiring losses, inverter draw, charge controller overhead), and you're looking at a real-world daily demand closer to 850–900Wh.
Step Two: Know Your Battery Ceiling
Your battery bank sets the upper limit on how much solar generation is actually useful. A 100Ah 12V lithium battery holds about 1,200 watt-hours of usable energy (lithium can be discharged to around 80–90% depth of discharge). A 100Ah AGM battery? More like 600Wh usable, since you shouldn't take AGM below 50%.
If your daily load is 900Wh and you've got a single 100Ah lithium battery, you've got a storage problem — not a panel problem. Adding more panels won't fix it. You'll just fill that battery faster and then generate electricity into a wall.
Conversely, if you've got 400Ah of lithium storage but only a 200W array, you've got the opposite problem: plenty of room to store energy, but not enough generation to fill it on a cloudy day or during winter months.
The sweet spot is when your array can realistically recharge your batteries in 4–6 peak sun hours under typical conditions for your region.
Step Three: Factor In Your Roof (Or Mounting) Reality
Let's say your math suggests you need 600 watts of panels. Great — but do you have the physical space for them?
A typical 200W 12V panel runs about 58 inches by 26 inches. Three of those side by side takes up significant real estate on an RV roof that's already competing with vents, AC units, and antennas. On a tiny home or van, the constraint gets even tighter.
This is where panel efficiency ratings actually start to matter. Higher-efficiency monocrystalline panels generate more watts per square foot, which means you can hit your wattage target in a smaller footprint. They cost more upfront, but when space is the limiting factor, that premium often makes sense.
Also worth considering: roof orientation and shading. A 400W array with full southern exposure in Arizona is going to dramatically outperform a 600W array that's partially shaded half the day in the Pacific Northwest. Peak sun hours in your specific location — not just generic national averages — should drive your planning.
The 'More Is Better' Myth, Dismantled
The oversizing obsession usually comes from a good place. People worry about cloudy days, winter sun angles, degradation over time. Those are real concerns. But the solution isn't to throw panels at the problem — it's to build a system that's balanced across generation, storage, and consumption.
If you live in a region with frequent overcast weather, the smarter move is to increase battery storage so you can bank more energy on good days, rather than piling on panels that still won't perform well under cloud cover.
If you're worried about panel degradation (typically 0.5–0.8% per year for quality panels), build in a modest 10–15% generation buffer — not 300% overkill.
A Simple Sizing Formula to Get You Started
Here's a quick back-of-envelope approach:
Daily load (Wh) ÷ Peak sun hours in your region = Minimum array wattage
So if you're consuming 900Wh per day and you get an average of 4.5 peak sun hours (roughly the US national average), you'd need:
900 ÷ 4.5 = 200W minimum
Add your 20% efficiency buffer: 240W recommended
Now check: can your battery bank absorb that charge? Can your roof fit those panels? If yes, you've got a right-sized system. If not, adjust the variables — not just the panel count.
Build for Balance, Not Bragging Rights
The best 12V solar setups aren't the ones with the most panels. They're the ones where every component — panels, charge controller, battery bank, and load — works in harmony. That kind of balance is what actually delivers reliable, day-after-day off-grid power.
Do the math before you buy. Your future self (and your wallet) will thank you.